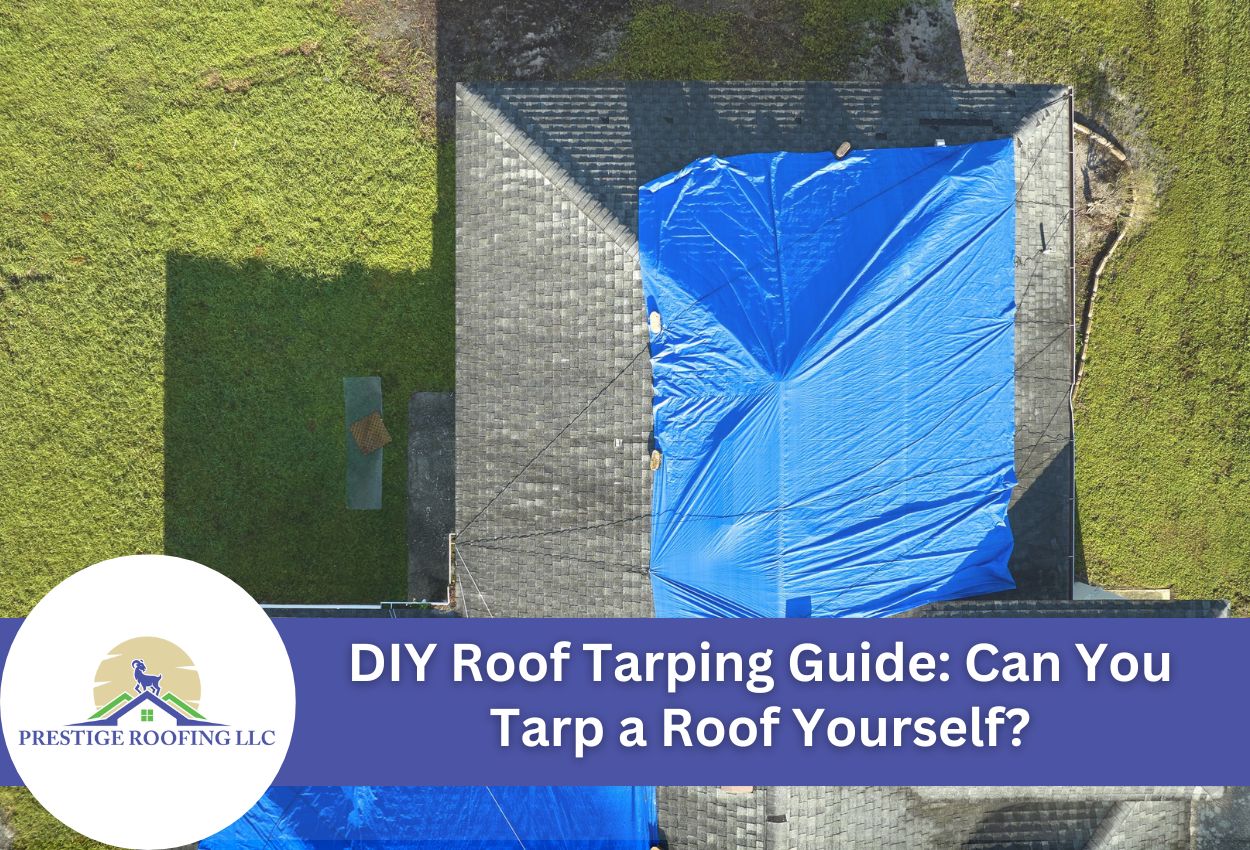
When your roof suffers unexpected damage from a storm, fallen tree, or other emergency, immediate action is crucial to prevent water damage to your home’s interior. While professional roof repair is the ultimate solution, DIY roof tarping can be utilized as an effective temporary measure to protect your property until permanent repairs can be made. Many Green Bay homeowners ask if you can tarp a roof yourself, and the short answer is yes, as long as you follow proper preparation and safety precautions and use the right materials.
Emergency roof tarp installation is a practical skill for homeowners facing sudden roof damage. This temporary solution helps reduce the amount of water that can enter your home and cause damage while you wait for professional repairs. Properly securing a tarp on a damaged roof requires specific techniques to ensure it stays in place during wind and rain.
Roof tarping for storm damage is not a permanent fix but rather a protective measure that typically lasts 30 to 90 days, depending on weather conditions and the tarp’s quality. The process involves careful placement and secure fastening methods to create an effective moisture barrier. Understanding the step-by-step temporary roof tarp repair process empowers homeowners to take immediate action when professional help isn’t immediately available.
Assessing Roof Damage Before Tarping
Before attempting to install a tarp on your damaged roof, a proper assessment is essential to determine if DIY tarping is appropriate for your situation. Begin by conducting a ground-level inspection using binoculars to identify missing shingles, damaged flashing, or visible holes. Look for interior signs of water damage, such as ceiling stains, dripping water, or damp insulation in the attic, which can help pinpoint the location of roof damage.
If you observe structural damage like sagging roof sections or collapsed areas, immediate professional help is necessary. These conditions indicate that the roof is unsafe, and professionals need to address the problem rather than attempting DIY solutions. Only proceed with tarping if the damage is limited to small or moderate areas that don’t compromise the overall structure of the roof.
Before installing your temporary roof tarp, document all damage thoroughly if you plan on filing an insurance claim. Take clear photographs from multiple angles, including wide shots showing the overall damage and close-ups of specific sections. Record the date of damage, the suspected cause (storm, fallen debris, etc.), and make detailed notes about visible issues.
Essential Materials and Safety Equipment
Once the damage is documented, you can begin tarping the roof. Properly tarping a damaged roof requires specific materials and safety equipment to ensure both effectiveness and personal protection. For successful emergency roof tarp installation, you’ll need a heavy-duty polyethylene tarp (at least 6 mil thickness) that extends at least 4 feet beyond all damaged areas. Look for UV-resistant tarps with reinforced edges and grommets for better durability against Green Bay’s weather conditions.
Additional materials include 2×4 lumber pieces (for securing edges and creating tension), 1-inch roofing nails or screws, a hammer or cordless drill, utility knife, measuring tape, and rope or bungee cords for temporary securing. For larger jobs, consider sandbags to help weigh down the edge of tarps during installation. Many local Green Bay building supply stores offer package deals on these DIY roof tarping supplies during storm season.
Safety should always be your top priority when installing a roof tarp. Essential safety equipment includes non-slip footwear with good traction, work gloves to prevent cuts and splinters, safety glasses for eye protection, and a hard hat to protect yourself against falling debris. For steep roofs, invest in a proper fall protection system, which includes a safety harness, roof anchors, and a lifeline. Always use a sturdy extension ladder that extends at least 3 feet above the roof edge, and have a helper stabilize it during use. Check weather forecasts before beginning as well, and avoid tarping during high winds, rain, or when lightning is present.
Step-by-Step Roof Tarping Instructions
Installing an emergency roof tarp requires the right type of preparation and follow-through to ensure it provides effective protection. Measure the size of the damaged area, and include at least 4 feet on either side so that there is overlap. When cutting your tarp, leave extra material rather than cutting too short, as you can always trim excess later.
Different roof styles require specific techniques. For asphalt shingle roofs, position the tarp so the top edge extends over the ridge. For flat roofs, create a slight slope with the tarp to encourage water runoff. On metal roofs, be careful not to puncture undamaged sections. When dealing with valleys or dormers, wrap the tarp around these features to prevent water from getting underneath.
Securing your tarp properly is crucial for withstanding Wisconsin’s unpredictable weather. The sandwich board method involves placing a 2×4 board along the tarp edge, folding the tarp over it, then securing another 2×4 on top using screws or nails. For roof peaks, run a board along the ridge and secure it on both sides. Avoid placing nails directly through the tarp in exposed areas, as this creates potential leak points. Instead, use the wrap-around technique where possible. For additional security in windy conditions, consider creating a rope system that anchors to sturdy points around your home’s perimeter.
Common Problems and How To Handle Them
When installing temporary roof tarps in Wisconsin, the weather is often the biggest obstacle. High winds can make tarp placement extremely difficult and dangerous, so if they exceed 15 mph, postpone installation or recruit additional helpers to maintain control of the tarp. During light rain, work in sections and have towels ready to dry surfaces before securing the tarp down.
Roof features require special attention during DIY roof tarping. When it comes to roof valleys, start by placing the tarp at the bottom of the valley and work upward, using extra securing points to prevent water from getting underneath. When tarping around chimneys or vents, create a “collar” by cutting slits in the tarp and wrapping it tightly around the protrusion, then seal with waterproof tape. Extremely steep pitches (greater than 6:12) make footing dangerous, so consider using roof jacks or scaffolding for safety, or contact a Green Bay roofing professional for assistance.
If your tarp starts to billow in certain areas after installation, address it immediately by securing it down in more areas with additional 2×4 boards or sandbags. For small tears that develop, use tarp tape or duct tape on both sides of the tear. Remember that poorly secured tarps can cause more damage than protection during severe weather, so inspect your installation after each storm and make adjustments as needed.
Maintaining Your Emergency Roof Tarp
Once you’ve successfully installed your emergency roof tarp, regular maintenance becomes essential to ensure it continues protecting your home until professional repairs can be completed. Inspect your tarp installation weekly and after any significant weather event. Walk around your property and visually check for signs of loose areas, billowing, or tears. In Green Bay, wind can gradually work fasteners loose, so pay special attention to the edges and corners of your tarp.
During inspections, look for warning signs that indicate the tarp is failing. Water pooling on the surface suggests improper drainage and adds dangerous weight to your roof. Address this immediately by adjusting the tarp’s pitch or adding drainage points. Flapping edges mean secure areas have failed and require additional fasteners. Small tears can quickly become major problems, so repair them immediately with tarp tape or by patching with a small piece of additional tarp material secured with waterproof adhesive.
If you notice the tarp has shifted, exposing previously covered damaged areas, you’ll need to reposition it as quickly as possible. During winter, carefully remove excessive snow accumulation from the tarp to prevent added weight and stress. Remember that DIY roof tarping is temporary by nature, and even with excellent maintenance, most emergency tarps remain effective for only 30 to 90 days before requiring replacement or professional roof repair.
When to Call Professional Roofing Contractors
While DIY roof tarping can provide temporary protection, recognizing the limitations of such a task is important to the safety of both your home and yourself. A properly installed emergency tarp should not remain in place longer than 90 days, as prolonged exposure to UV rays and weather will degrade even heavy-duty tarps. If the roof damage extends beyond a few missing shingles or involves structural issues like sagging sections or damaged rafters, immediate professional intervention is necessary. Additionally, if you notice water continuing to enter your home despite tarping the roof, this indicates that the temporary solution is insufficient.
Working with insurance companies requires proper documentation and timely action. Contact your insurance provider immediately after discovering roof damage to initiate your claim. Most insurers expect homeowners to take reasonable temporary measures (like tarping) to prevent further damage, but they also want to see a professional assessment quickly. When selecting a qualified Green Bay roofing contractor, look for proper licensing, insurance, local references, and experience handling insurance claims.
Reputable Green Bay roofing professionals can provide emergency services beyond DIY capabilities, including comprehensive damage assessment, documentation for insurance purposes, and permanent repair solutions tailored to your specific situation. Many offer free inspections and can work directly with your insurance adjuster to ensure your claim covers all necessary repairs. Remember that professional intervention not only resolves immediate concerns but also helps prevent long-term issues that could develop from improperly addressed roof damage.
Trust Prestige Roofing LLC for Professional Roof Tarping Services in Green Bay
If you’ve reached the limits of DIY roof tarping or find the damage too extensive, it’s crucial to call in the professionals. At Prestige Roofing LLC, we understand the urgency and precision required in protecting your home from further damage. Whether you’re dealing with storm damage, aging materials, or unexpected leaks, our team is equipped to provide swift and efficient solutions.
Call us now at (920) 791-0414 to secure your roof and peace of mind. Our experienced technicians are ready to assist you, ensuring your roof is properly tarped and protected against the elements.

