Emergency Roof Protection: Essential Steps for Installing a Tarp After Storm Damage

When severe weather strikes Green Bay homes, roof damage requires immediate action. A properly installed roof tarp serves as a crucial first line of defense against water infiltration that can quickly turn into thousands of dollars in interior damage. This emergency measure provides vital protection while you await professional repairs from qualified roofing contractors.
Storm damage creates vulnerable points where rain and moisture can enter your home, potentially causing insulation to deteriorate, mold growth, electrical hazards, and structural weakening. In Wisconsin’s unpredictable climate, these risks multiply quickly after roof damage occurs.
Emergency roof tarp installation isn’t just about throwing a plastic sheet over damaged sections. The secure roof tarp process involves specific techniques that ensure the temporary covering stays in place during wind and rain events that follow. Proper roof tarp techniques require attention to detail and safety precautions that protect both your property and those performing the installation.
Understanding the complete temporary roof protection method helps homeowners make informed decisions during stressful post-storm situations. While DIY roof tarp installation steps can help in emergencies, knowing when to call professionals remains equally important. The following guidance covers essential approaches for securing a damaged roof until permanent repairs can be completed.
Key Takeaways: Emergency Roof Tarp Installation After Storm Damage
- Tarp Size Matters: Use a heavy-duty 6-10 mil polyethylene tarp extending at least 4 feet beyond damaged areas on all sides to ensure complete coverage and proper water runoff.
- Steep Pitch Safety: Roofs with 6:12 to 9:12 pitch (26-37 degrees) require mandatory fall protection systems including safety harness, roof anchors, and lifeline—not just a ladder.
- Ridge Beam Technique: Sandwich the tarp between two 2×4 boards at the roof peak using 3-inch deck screws every 12 inches for secure roof tarp installation that withstands wind uplift.
- Limited Lifespan: Emergency tarps effectively protect for only 30-90 days depending on weather, with professional installation taking 1-2 hours versus 2-4 hours for DIY attempts.
Assessing Damage and Insurance Requirements
Before attempting any roof tarp installation, conduct a thorough damage assessment from the ground level using binoculars to examine the affected areas. Look for obvious signs of structural compromise including sagging roof sections, collapsed areas, missing shingles, or exposed roof decking. Check your home’s interior for ceiling stains, active dripping, or damp insulation in the attic space, as these indicate where water is already penetrating.
Contact your insurance provider immediately after discovering roof damage. Insurers expect homeowners to take reasonable temporary measures to prevent further damage, but they also want professional assessment quickly. Document all damage thoroughly with photographs taken from multiple angles, including wide shots showing the overall damage and close-ups of specific problem areas. Include dates and detailed notes describing what you observe.
If you notice extensive structural damage such as sagging sections, compromised rafters, or large holes that suggest the roof deck may be unstable, avoid DIY tarp installation entirely. These conditions make the roof unsafe to walk on and require immediate professional intervention to prevent collapse or serious injury.
Safety First: Preparing for Roof Tarp Installation
Before attempting to install an emergency roof tarp, proper safety preparations are essential to prevent accidents and injuries. Wisconsin weather can create slippery and unstable roof conditions that increase risk factors significantly. Start by gathering necessary safety equipment, including a sturdy ladder, non-slip footwear, heavy-duty work gloves, and safety harnesses if working on steep slopes. Hard hats provide vital protection from falling debris on severely damaged roofs.
For roofs with a 6:12 to 9:12 pitch (approximately 26-37 degrees), advanced safety precautions become mandatory. This includes a complete fall protection system with safety harness, roof anchors, and lifeline. Ensure your ladder extends at least 3 feet above the roof edge and have a helper stabilize it during use.
Never attempt secure roof tarp installation during active storms, high winds, or when lightning is present. Wait for clear conditions, and avoid working during early morning hours when dew makes shingles particularly slippery. If temperatures are near freezing, be aware that frost or ice may create invisible hazards on your roof surface.
Before climbing up, conduct a thorough assessment from the ground using binoculars to identify damaged areas. Look for structural warning signs like sagging sections, compromised rafters, or a collapsed roof deck that could indicate the roof won’t safely support your weight. For temporary roof protection to be effective, you must first determine if the underlying structure remains sound enough for DIY work.
If you notice extensive structural damage, large holes, or feel uncomfortable with heights, proper roof tarp techniques may be beyond DIY capabilities. In these cases, contact a professional Green Bay roofing contractor immediately for emergency roofing services rather than risking personal injury.
Gathering the Right Materials for Effective Roof Protection
Selecting the appropriate tarp and materials is crucial for successful emergency roof protection in Green Bay’s challenging climate. For proper roof tarp installation that withstands our local weather patterns, start with a heavy-duty polyethylene tarp that’s at least 6-10 mil thickness. The size of your tarp is one of the most important factors, as your tarp should extend at least 4 feet beyond the damaged area on all sides to ensure the damage is completely covered and that there is proper water runoff.
When shopping for tarps, look for UV-resistant options with reinforced edges and grommets every 18 to 24 inches. These features prevent premature deterioration from Wisconsin’s intense summer sun and provide secure attachment points. Local Green Bay building supply stores often offer package deals on DIY roof tarping supplies during storm season, which can help reduce costs.
Beyond the tarp itself, gather these essential tools for secure roof tarp installation:
- 2×4 Lumber pieces (at least 8 feet long)
- 3-Inch deck screws
- Washers
- A cordless drill
- Utility knife
- Measuring tape
- Safety rope
- Sandbags
Consider adding cap nails and roofing cement for additional reinforcement during temporary roof protection.
Professional roofing contractors recommend keeping extra materials on hand in case of unexpected challenges during installation. Having appropriate supplies ready ensures your DIY roof tarp installation provides effective protection against further interior damage until permanent repairs can be completed. Remember that proper preparation with quality materials significantly improves the effectiveness of your temporary roof protection.
Measuring and Cutting: Preparing Your Tarp for Installation
Accurate measurements are crucial for effective emergency roof tarp installation. If it’s safe to do so, measure the damaged roof area, then add at least 4 feet on each side to ensure adequate overlap with the tarp. For Wisconsin homes with storm damage, this extra material prevents wind-driven rain from finding its way under the edge of the tarp and into the roof.
When preparing your tarp, lay it out on a clean, flat surface like your driveway or lawn. Square the tarp and carefully mark your cutting lines using chalk or a marker. Remember that a properly sized tarp should extend from the roof peak down to the eaves and overlap undamaged areas by several feet. This coverage pattern ensures water flows over, rather than under, your temporary protection, which is an important step when understanding what to expect after roof tarping and how effective preparation prevents further water intrusion.
When cutting the tarp, use sharp scissors or a utility knife with a fresh blade to create clean edges that won’t fray or tear during secure roof tarp installation. Avoid folding the tarp before cutting as this can create uneven lines. If you’re working with a particularly large tarp, consider having a helper maintain tension while you make cuts to improve accuracy.
Green Bay homeowners should be especially careful not to puncture or tear the tarp during preparation. Even small holes can impact your temporary form of roof protection during frequent rain events. Handle the material carefully, keeping it away from sharp objects and rough surfaces that might damage its waterproof ability.
Secure Installation Techniques for Lasting Protection
Properly installing a roof tarp in Green Bay’s often gusty conditions requires specific anchoring techniques to prevent wind uplift. Begin by positioning the tarp so it covers the damaged area completely, extending from the peak down past the eaves. For the best form of security, sandwich the tarp between two 2×4 boards along the peak, creating what professionals call a “ridge beam sandwich.” Secure these boards together using 3-inch deck screws spaced every 12 inches, driving them through the boards and tarp but not into the roof itself.
Different roof types require specific installation approaches for maximum effectiveness:
| Roof Type | Installation Method | Key Precautions |
|---|---|---|
| Asphalt Shingle | Position tarp so top edge extends over ridge | Use ridge beam sandwich method for secure anchoring |
| Flat Roof | Create slight slope to encourage water runoff | Prevent water pooling with proper tarp positioning |
| Metal Roof | Use tie-down straps only (no nails or screws) | Avoid puncturing undamaged sections of metal |
| Steep Pitch (>6:12) | Requires roof jacks or scaffolding system | Mandatory fall protection: harness, anchors, lifeline |
For shingled roofs, extend the tarp at least two feet past the damaged section on all sides. Secure the bottom edges by wrapping them around 2x4s and fastening them with screws through the board-wrapped tarp into the fascia or soffit below. On metal roofs, avoid puncturing the metal surface by using rope to tie down the tarp through grommets, securing the ends to heavy objects on the ground. For flat roofs, use concrete blocks or sandbags placed every few feet along the perimeter to hold the tarp in place without piercing the roofing membrane.
Wisconsin’s variable weather demands special attention to water runoff patterns. Always position the tarp to channel water away from the structure, overlapping sections in a downward-flowing direction. In areas with significant tree coverage, regularly inspect your tarp for debris that’s accumulated on the surface that could trap moisture or cause tears.
Reinforcing Your Temporary Roof Protection
After basic installation, reinforcing your emergency roof tarp is essential for withstanding Wisconsin’s unpredictable weather patterns. Begin by strategically placing additional weights along the tarp’s surface using sandbags or bricks wrapped in cloth to prevent punctures. Position these weights in a grid pattern, concentrating on corners and areas where wind might catch underneath. For maximum security on steeper roofs, consider creating a secondary anchoring system using rope tied to the tarp’s grommets and secured to solid points like porch columns or heavy landscaping features.
Proper edge sealing dramatically improves your temporary roof protection’s effectiveness during Green Bay’s heavy downpours. Apply waterproof tape or roofing cement along all edges where the tarp meets the undamaged roof surface. Pay special attention to the upper edges where water flows down from higher roof sections. Creating intentional runoff channels by slightly adjusting the tarp’s position can direct water away from vulnerable areas and prevent pooling that might eventually seep through.
For homes with multiple roof planes, secure each section independently before connecting them at valleys or ridges. This distributed approach to secure roof tarp installation prevents single-point failures during storms. Remember that proper weight distribution across the entire surface of the tarp is more effective than concentrating weight in just a few spots.
Troubleshooting Common Tarp Challenges
Even properly installed tarps can face challenges during Wisconsin’s variable weather conditions. Studies show a 25-30% failure rate for emergency tarps, often due to debris punctures or inadequate securing methods. Understanding how to address common problems can extend your tarp’s effectiveness until permanent repairs are completed.
Weather-related challenges require specific responses. Postpone installation if winds exceed 15 mph, as these conditions make securing the tarp nearly impossible and create safety hazards. If you must work during light rain, work in sections and use towels to dry surfaces before applying adhesives or tape. For roof valleys, start at the bottom and work upward, using extra securing points to prevent water from flowing under the tarp edges.
Sealing around chimneys and vents requires special attention. Cut small slits in the tarp to fit around these protrusions, then wrap the material tightly around the base. Create a “collar” effect and seal thoroughly with waterproof tape to prevent water infiltration. For steep pitches greater than 6:12, roof jacks or scaffolding systems become necessary for safe installation.
Address billowing areas immediately by adding additional 2×4 boards or sandbags to create tension. Small tears can be repaired using tarp tape or heavy-duty duct tape applied to both sides of the damaged area. Clean the surface thoroughly before applying any patches to ensure proper adhesion.
Maintaining Your Roof Tarp Until Permanent Repairs Can Occur
Once your emergency roof tarp is installed, regular maintenance becomes essential to ensure continued protection for your Green Bay home. Weather conditions in Wisconsin can quickly degrade even properly installed tarps, making routine inspection a necessary part of your temporary roof protection strategy. Walk around your property at least weekly to check for signs of tarp movement, loosening edges, or new water intrusion. After severe weather events, conduct immediate inspections to identify potential damage to your temporary covering.
When maintaining your secure roof tarp, gently remove accumulated debris like leaves, branches, and snow that add weight while it is up, and avoid using sharp tools that might puncture the protective surface. During winter months, carefully remove excessive snow accumulation from the tarp to prevent added weight and stress that could cause the tarp to fail or damage the underlying roof structure. If you notice minor tears developing, reinforce these areas immediately with waterproof tape designed for outdoor use. For loose sections, add additional weights or securing points rather than simply pulling the existing attachments tighter, which can cause tears.
You also want to keep a lookout for warning signs that indicate your temporary roof protection needs replacement, including multiple tears, large areas of sagging, or visible water penetration into your home. Most emergency tarps will effectively protect your property for around 30 to 90 days, depending on weather conditions and installation quality. However, this temporary solution should never replace proper repairs. Contact a qualified Green Bay roofing contractor to schedule permanent repairs as soon as possible, especially if your tarp shows signs of deterioration or the waiting period for repairs extends through changing seasons.
Secure Your Home with Prestige Roofing LLC
If you’re dealing with storm damage in Green Bay and need immediate roof protection, don’t wait for the situation to become worse. Protecting your home from further damage is crucial, and installing a roof tarp is a critical step in this emergency situation. Don’t risk improper installation or inadequate coverage.
Understanding the costs and time investment can help you make an informed decision about DIY versus professional installation:
| Factor | DIY Installation | Professional Service |
|---|---|---|
| Time Required | 2-4 hours | 1-2 hours |
| Cost (Small Damage) | $50-$150 (materials only) | $150-$300 |
| Cost (Moderate Damage) | $100-$250 (materials only) | $300-$700 |
| Cost (Large Damage) | $200-$400 (materials only) | $700-$2,500 |
| Safety Risk | High (requires proper equipment & training) | Low (professionals have experience & insurance) |
| Insurance Documentation | Homeowner responsibility | Often included with service |
Professional installation typically takes 1-2 hours compared to 2-4 hours for DIY, and professional services range from $150-$300 for small damage up to $700-$2,500 for extensive damage. While DIY installation costs less in materials, professional services include proper insurance documentation and eliminate safety risks.
Call our team at Prestige Roofing LLC now, at (920) 791-0414, and secure your roof with confidence.
How long can I safely leave a tarp on my roof before it needs to be replaced?
Most emergency roof tarps remain effective for 30-90 days depending on weather exposure and material quality. UV rays, temperature fluctuations, and wind stress gradually weaken the tarp material. Plan for permanent repairs within this window, and inspect weekly for deterioration signs like brittleness or discoloration.
What should I do if water is still leaking through my installed roof tarp?
First, identify the leak source by checking for gaps around edges, punctures, or inadequate overlap. Add additional securing boards along problem areas, apply waterproof tape to seal edges, and ensure the tarp extends far enough beyond damaged sections. Persistent leaks may indicate the damage is more extensive than initially assessed.
Can I install a roof tarp in winter when there’s snow and ice on my roof?
Winter installation is extremely dangerous due to slippery conditions and should only be attempted in emergencies. Remove snow carefully from the installation area, ensure temperatures are above freezing for adhesives to work, and use extra caution with fall protection. Professional installation is strongly recommended for winter roof tarping.
Will installing a tarp myself affect my insurance claim for roof damage?
Insurance companies expect homeowners to take reasonable steps to prevent further damage, which includes emergency tarping. Document the damage thoroughly before installation with photos, save all receipts for materials, and notify your insurer immediately. Proper temporary protection typically supports rather than hinders your claim.
What’s the best way to secure a tarp on a roof with solar panels or skylights?
Work around solar panels and skylights by cutting the tarp to fit, leaving these features exposed when possible. Create custom seals around their perimeters using waterproof tape and additional securing boards. Avoid placing weight directly on panels or glass, and consider professional help for complex roof features.
Related Articles
-
 September 28, 20245 Best Tarps For Your RoofSometimes, large forms of damage may leave your roof vulnerable to leaks, especially during heavy rains and storms. In these situations, you’ll want to tarp your roof, especially if you know harsh weather is coming. If you need help finding a quality tarp that offers protection, this blog post is for you! With so many […]
 -
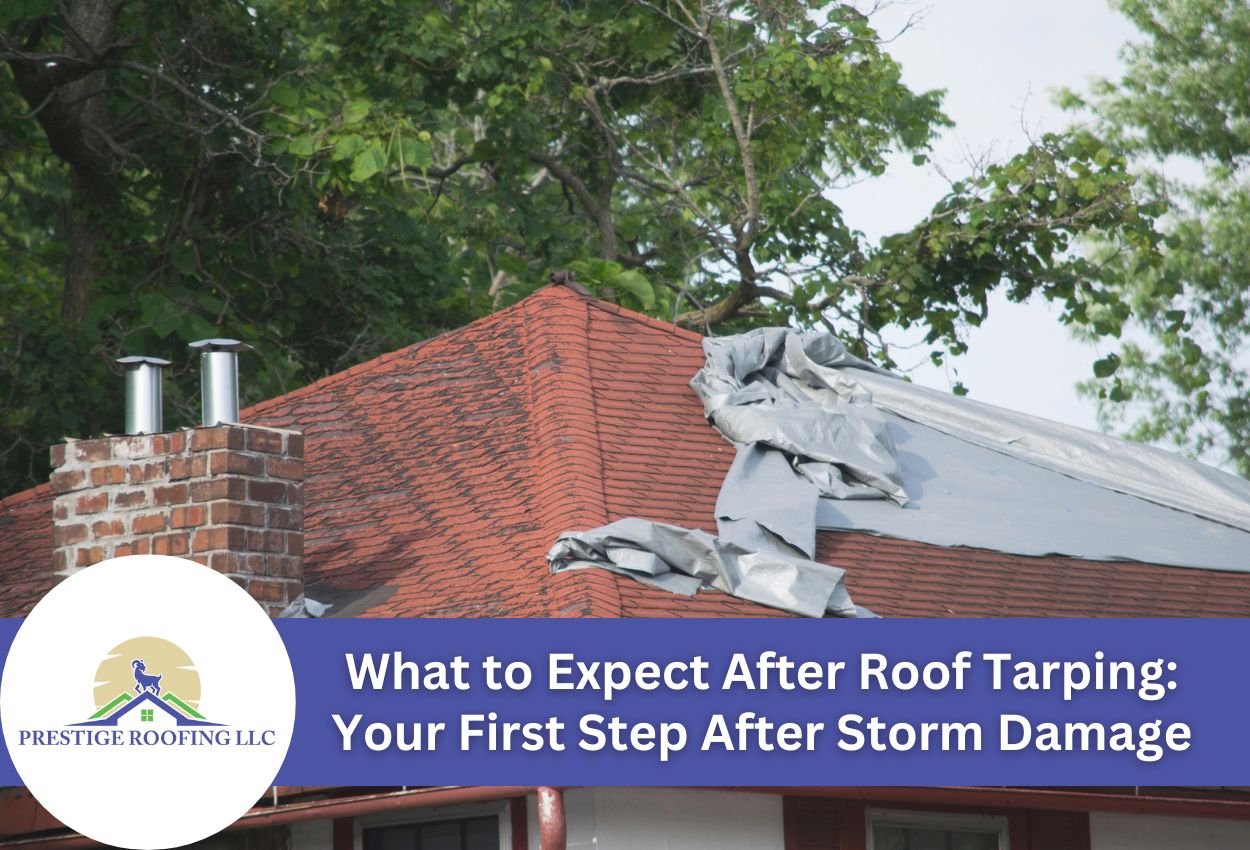 May 18, 2025What to Expect After Roof Tarping: Your First Step After Storm DamageStorm damage your roof? Learn how tarping protects your home, how long it lasts, and the steps toward permanent repairs.
 -
 May 22, 2026Complete Guide to Roof Inspections for Green Bay, WI HomeownersIs your roof prepared for another Green Bay winter? Learn what to inspect, typical costs, and when to bring in a roofing expert.
Protect Your Home with Expert Roofing
Don’t wait for leaks or storm damage to cause costly repairs. Our experienced roofing team provides fast, reliable service, high-quality materials, and lasting results. Ensure your home stays safe, secure, and looking great—contact us today for a free estimate.