You might be surprised to learn that those small roofing nails in your toolbox can make or break your entire roofing project. Think of them as the tiny components that keep your roof secure through stormy weather and scorching sun. While it’s easy to grab any box of nails from your local hardware store, choosing the wrong ones when working on your roof could cost you thousands in repairs later.
In this blog post, you’ll discover everything you need to know about roofing nails, including the shape, size, and size suitable to your roofing system. Whether you are planning an installation or a replacement, this guide will help you make smart choices for your home.
What Are Roofing Nails?
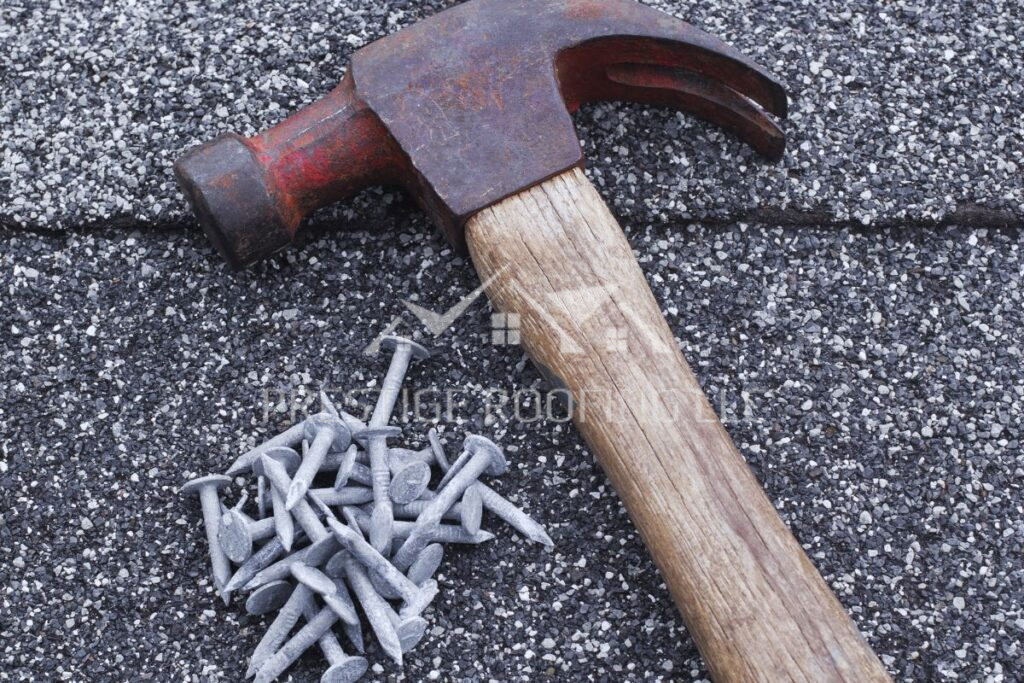
Roofing nails are specialized fasteners designed to secure your roof’s materials to the underlying structure. Unlike regular nails, they feature a wide, flat head (about 3/8 inch across) and weather-resistant coatings to prevent rust. These sturdy nails come in various lengths, from 3/4 inch to 2 1/2 inches, and their unique design helps them grip tightly while withstanding years of harsh weather.
Why Does Your Choice of Roofing Nails Matter?
Your roof faces harsh weather every day. From strong winds to heavy rain, it needs to stay firmly in place. The roofing nails you choose are the anchors that hold everything together. Using the wrong type of roof nails for shingles could lead to significant roof damage such as uplift and leaks.
Types of Roofing Nails
Just like any other roof component, there are various types of nails to choose from.
Smooth Shank Nails
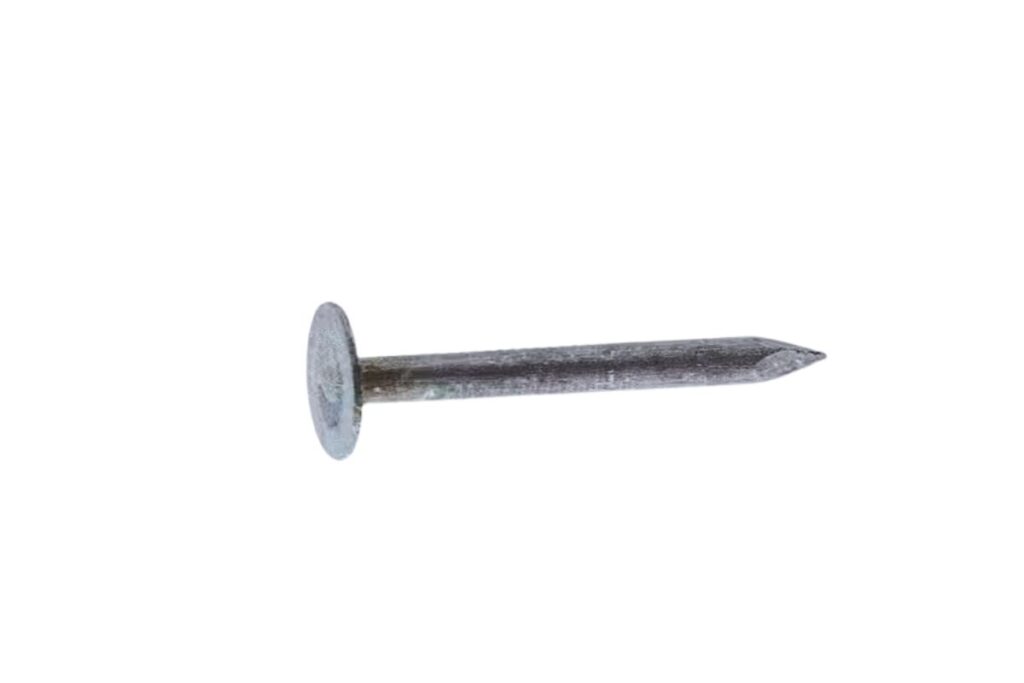
When you’re working with lightweight roofing materials, smooth shank nails can be your go-to choice. These basic nails feature a clean, straight body without any texture. They’re budget-friendly, readily available at your local hardware store, and work best in areas with mild weather conditions.
Ring Shank Nails
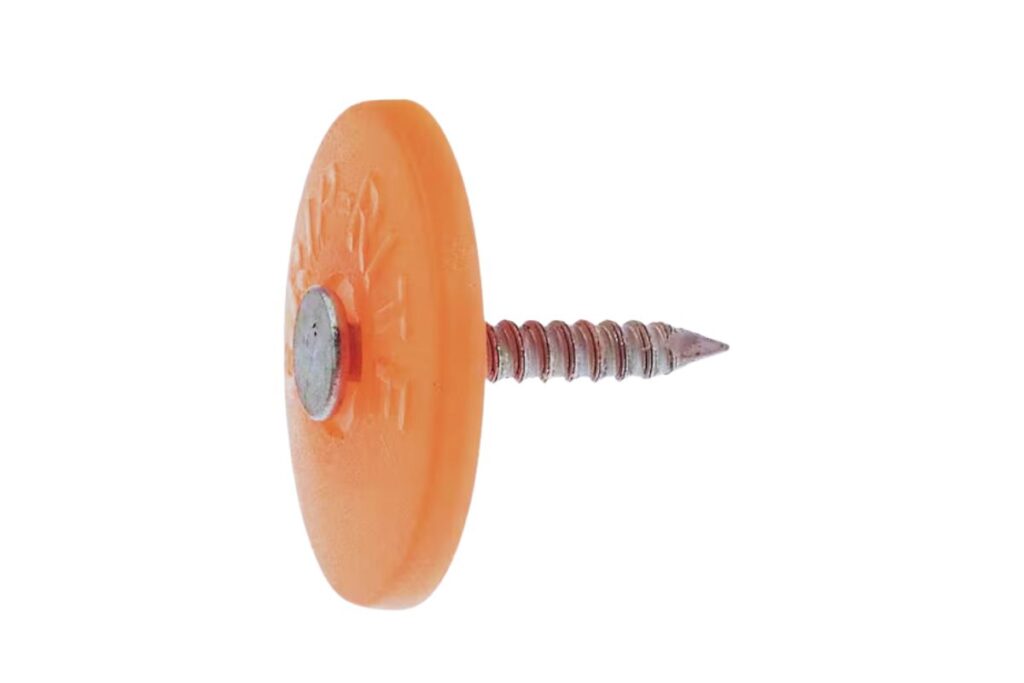
Ring shank nails feature circular rings along their body that act like anchors in your roof deck. These rings create superior gripping strength, making them perfect for areas with high winds. They cost a bit more than smooth shank nails but offer better security for your roof.
Screw Shank Nails
These nails combine the best features of screws and nails. Their spiral-grooved body twists into your roofing materials, creating exceptional holding power. These nails excel when you’re installing heavy materials like thick shingles or slate. They’re your best choice for maximum security in challenging conditions.
Choosing The Right Material For Nails
Along with different types, roofing nails come in numerous materials depending on your needs.
Galvanized Steel Nails
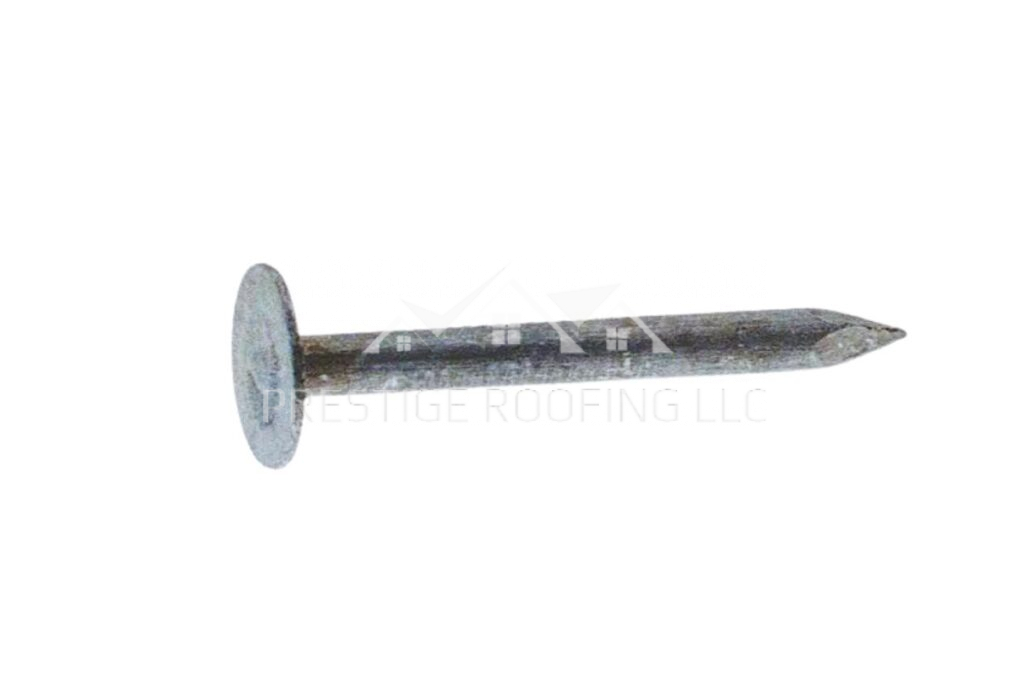
Your most common and versatile option, galvanized steel nails come in two types. Hot-dipped versions offer superior rust protection thanks to their thick zinc coating, perfect for most outdoor projects. Electro-galvanized options have a thinner coating, making them suitable for dryer climates.
Aluminum Nails
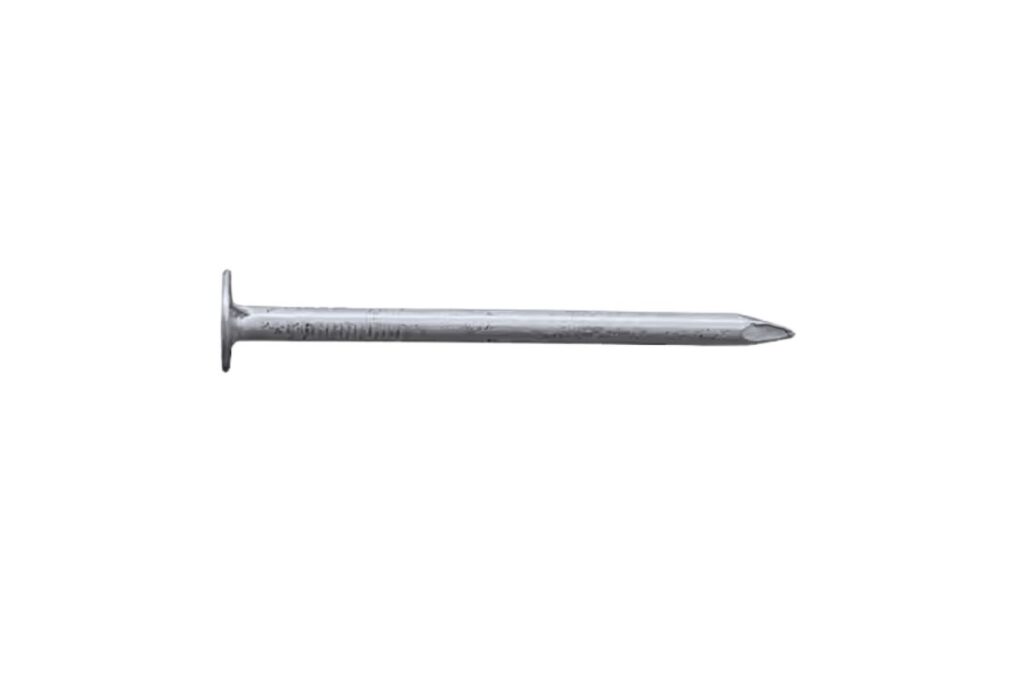
When you’re working with metal panels or asphalt shingles, these lightweight nails are your perfect match. They’ll never rust and won’t corrode when paired with aluminum sheets. However, their softer nature means they’re not suitable for heavy materials like slate tiles.
Copper Nails
For premium roofing projects, copper nails offer both beauty and durability. Their rich, warm color makes them ideal for copper roofs and decorative applications. While they’re among the most expensive options, their natural resistance to corrosion and attractive patina make them worth the investment.
Stainless Steel Nails
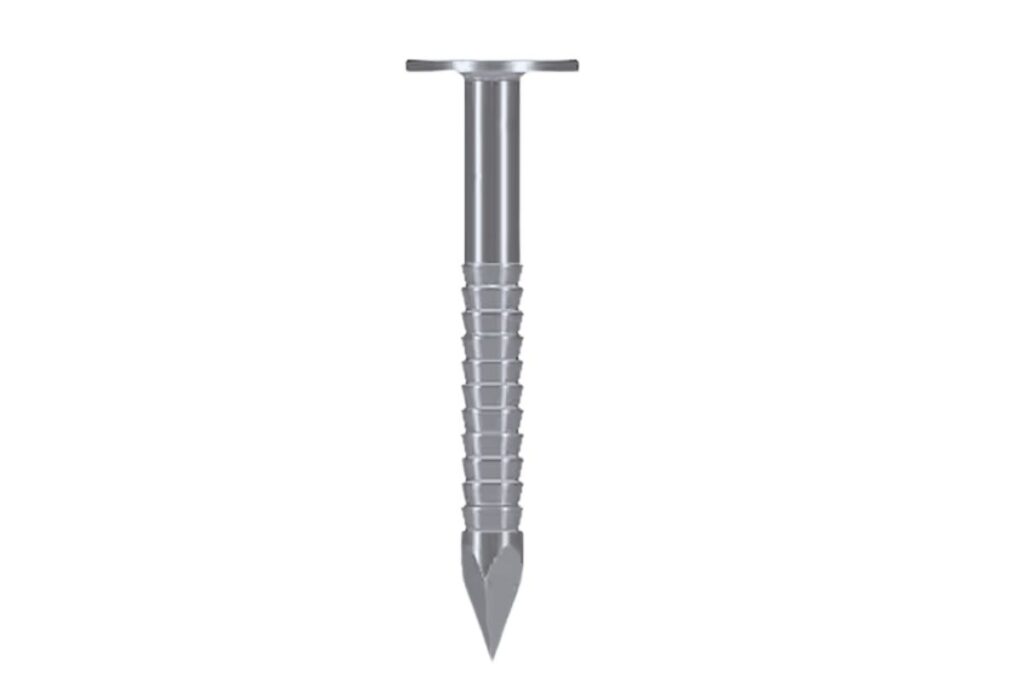
If you live near the coast, stainless steel nails are your best defense against rust. Their superior corrosion resistance makes them ideal for salty, humid environments. While they cost more than standard galvanized nails, their durability, and long-lasting performance justify the higher price tag.
How Long Should Roofing Nails Be?
It is important to choose the right size nails for the roofing material used on your roof. Below, we have listed some common nail sizes.
1 inch:
The perfect choice for lightweight materials and easy repairs, these nails are the most used option for roof installations.
1-1/4 inch:
This is a standard length for nails used for asphalt shingle installation. They provide adequate penetration through shingles and into the underlying roof deck, ensuring proper fastening and durability.
1-3/4 inch to 2 inches:
This longer nail provides extra holding power, especially when installing thicker materials or in situations requiring deeper penetration into the roof deck for added stability and durability.
2-1/2 inches and Bigger:
They are used to install asphalt shingles over existing roofing layers or in thicker roof assemblies. These longer nails ensure secure attachment by penetrating deeper through the shingles, underlayment, and into the roof deck. They provide added strength for roofs with multiple layers of insulation, following roofing codes for multi-layer installations to ensure stability.
Things To Remember Before You Use The Nails
Before using those nails on your roof, there are a few important tips you should follow.
Check Local Building Codes
Your area might have specific requirements for roofing nails, so always check local building codes before starting your project.
Consider Your Climate
Your climate plays a key role in choosing the right roofing nails. For warmer areas, pick stainless steel nails that resist heat damage. Near the coast? Stainless steel or hot-dipped galvanized nails fight salt air corrosion. Windy regions need ring shank nails for extra grip, while rainy areas require nails with superior rust resistance, like hot-dipped galvanized options.
Match Your Roofing Material
Your roofing material determines which nails will work best. For asphalt shingles, use hot-dipped galvanized ring shank nails to prevent pullout. Metal roofs need special nails with neoprene washers to stop leaks. Cedar shakes work best with stainless steel or hot-dipped galvanized nails, while slate roofs require copper or stainless steel nails for lasting durability.
Using Too Short Nails
Choosing nails that are too short puts your roof at risk of failure. For a secure installation, your nails must penetrate at least 3/4 inch into the wood deck to prevent shingles from becoming loose.
Choosing the Wrong Material
Using the wrong type of nails can damage your entire roof. Indoor nails or those without weather-resistant coating will quickly rust when exposed to outdoor elements, leading to expensive repairs or complete roof failure.
Overdriving Nails
Overdriving your roofing nails weakens your roof. When you hammer nails too deep, they can tear through shingles and lose their grip strength, risking roof damage.
Conclusion
Choosing roofing nails might seem like a minor thing for most homeowners, but the right nails will ensure the longevity of a home. The right decision can also help you save time and money and avoid unnecessary headaches due to increased roof maintenance and repairs. Consulting a roofing contractor can help you in your decision-making. Their experience and knowledge will ensure you choose the right nails for your project. With over a decade of experience in roof replacements and installations, our consultants at Prestige Roofing can take care of your project. Trust our team to evaluate your needs, climate, and local building codes before starting the job. Call us at (920) 791-0414 to learn more.

