Have you ever wondered what keeps your roof safe, especially during heavy rains and snow storms? The answer is roof flashing. This simple yet very important material plays a major role in safeguarding your roof. It helps prevent leaks and makes sure your roof stands the test of time. Whether you’re building a new home, replacing an old roof, or just curious about roof maintenance, understanding roof flashing is key to keeping your home in top condition. So, keep reading for everything you need to know about your roof’s defense system.
What Is Roof Flashing?

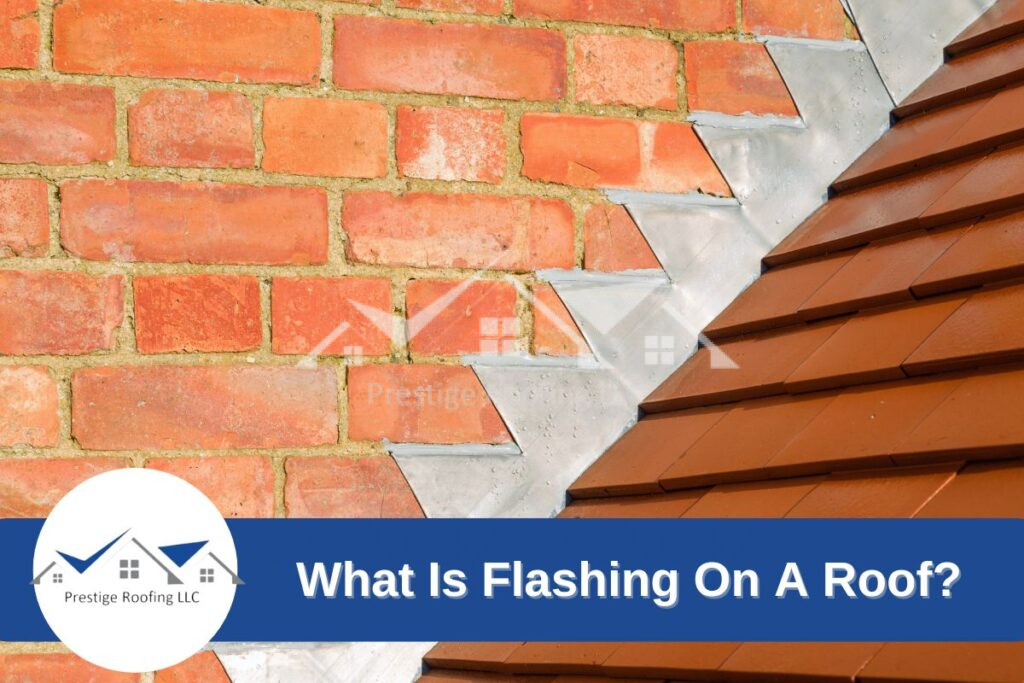
Roof flashing acts as a waterproof barrier. It’s often made of aluminum, copper, or steel, though other materials like rubber or plastic are sometimes used. Flashing is applied where the roof surface meets walls, chimneys, skylights, or valleys.
By sealing gaps in these areas, roof flashing prevents water from penetrating your roof’s interior. Think of it as your home’s silent protector against leaks.
Types of Roof Flashing
There are various types of roof flashing, and each has a distinct role in keeping water out of your roofing system.
Continuous Flashing
This long, single piece of flashing protects roof joints. It’s also called “apron flashing” because it acts like an apron, channeling water away from walls and edges.
Base Flashing
Base flashing works in tandem with counter-flashing. It is installed at the base of structures like chimneys and provides flexibility for movement, ensuring lasting waterproofing.
Counter-Flashing
Counter-flashing is installed above base flashing to create a double-layered barrier. It’s especially useful for sealing off areas with significant exposure to rain.
Step Flashing
Perfect for roofs with shingles, step flashing is a series of small metal pieces installed where the roof meets a wall. This technique directs water down and away safely.
Skylight Flashing
This specific flashing ensures skylights are watertight, and most skylights come with it included.
Valley Flashing

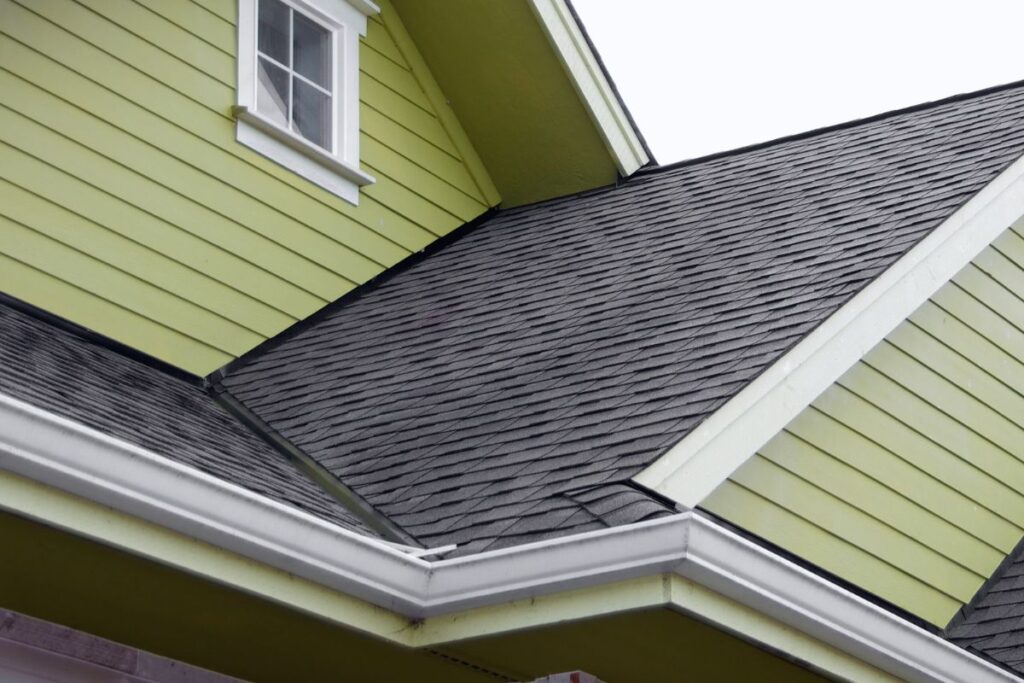
Roof valleys, where two slopes meet, are prone to water pooling. Valley flashing can efficiently direct water off the roof.
Kickout Flashing
Installed where the roof meets a wall, kickout flashing directs water into gutters, preventing damage to siding and walls.
Roof Drip Edge Flashing
Roof drip edge flashing is placed with the edges of the roof to guide the water flow into gutters, protecting the fascia and underlying structures.
Roof Flashing Sizes
Roof flashing is available in a range of sizes to suit various applications. Roof flashing usually comes in a size range of 4 to 10 inches wide depending on the needs of different types of roofing systems.
Length and Thickness
The length of standard roof flashing is 10 feet per piece but the thickness of the flashing may range between 0.09 to 0.04 inches each. However, the thickness depends on the material and your durability requirements.
Custom Sizes
For unique roof designs, such as steep pitches or irregular shapes, custom-sized flashing may be necessary. These sizes are tailored to ensure a precise fit and optimal water protection.
Roof Flashing Materials For Roof
As a homeowner, choosing the right flashing for your roof is very important. You need to make sure the flashing is compatible with your roofing material to prevent corrosion and damage. Here are some common options:
Aluminum Flashing
Lightweight and rust-resistant, aluminum flashing is a popular choice for many homeowners. It is easy to cut and shape, making it ideal for complex roof designs. However, it may require coating in areas with high salt exposure, such as near coastal regions, to prevent corrosion.
Copper Roof Flashing

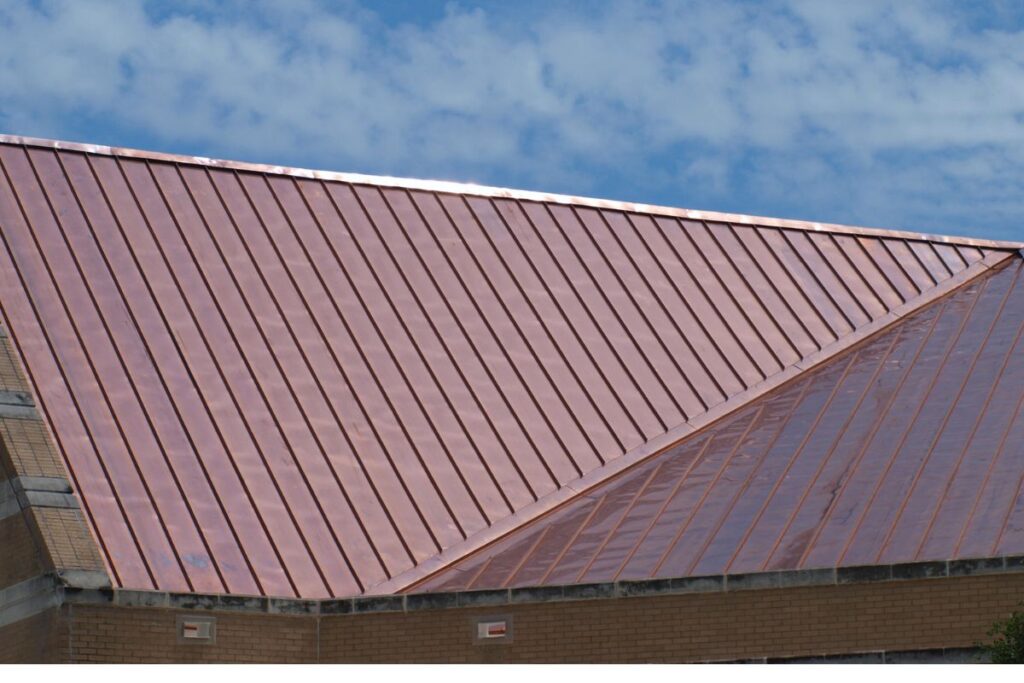
Known for its durability and visual appeal, copper roof flashing is a highly recommended material for roof flashing. It is known not only for its robustness but also for its unique curb appeal, which will add a natural patina after installation.
Steel Flashing
Steel is a strong and cost-effective roof flashing material that offers excellent protection to your roof. It is available in two main types: galvanized and galvalume steel flashing.
Rubber/Plastic Flashing
Rubber or plastic flashing is an economical option commonly used in less demanding climates or for temporary repairs. It is a flexible and lightweight material that is easy to work with and can be installed with minimum effort. But remember that it is not as strong and does not have the same durability as metal roof flashing.
Roof Flashing Sealant Types
Sealants are critical for securing flashing edges and joints, ensuring they remain watertight. Here are the most common types of roof flashing sealant:
Silicone
Silicone sealants are highly flexible and durable and are an ideal sealant for areas like the joints of chimneys and skylights. They are resistant to UV rays and weather conditions, ensuring long-term performance.
Polyurethane
Polyurethane sealants are known for their strength and are often found to be a perfect fit for high-stress areas or heavy-duty applications. They bond well to various surfaces, including metal, and offer excellent resistance to water and weather damage.
Butyl Rubber
Butyl rubber sealants are especially effective for metal roof flashing. They form a strong bond with metal surfaces, providing reliable protection against leaks in areas with significant exposure to water or temperature changes.
Roof Flashing Installation Techniques
Without proper installation, roof flashing won’t last. That’s why hiring a roofing contractor to install your roof flashing is essential. Below are some installation techniques your contractor should employ when installing your flashing.
Overlapping Installation
Flashing is always installed in an overlapping manner. This helps rainwater to flow over the layers instead of seeping underneath.
Proper Fastening
Secure flashing using corrosion-resistant nails or screws to prevent rust and maintain durability. Fasteners should be placed strategically to avoid puncturing vulnerable areas of the roof. Improper fastening can loosen the flashing and impact its effectiveness.
Sealed Edges
Edges should be sealed with a compatible sealant, such as silicone or polyurethane, to add an extra layer of protection. This step is particularly important for metal roof flashing and areas with high exposure to wind and rain.
Steps to Install Roof Flashing
Properly installing roof flashing is important to make sure your roof remains watertight and protected from leaks. While you should always rely on a professional, understanding the basic steps is a good idea for any homeowner.
Measure and Cut
Start by accurately measuring the area where the flashing will be installed. Cut the flashing material to fit the dimensions of the roof section, ensuring that it overlaps any adjoining materials to prevent water ingress.
Secure the Flashing
Use appropriate fasteners, such as roofing screws or nails, to attach the flashing to the roof securely. Ensure that the fasteners are placed at regular intervals along the edges for maximum stability.
Seal Joints and Edges
Apply a compatible sealant along all joints and edges of the flashing. This step will create a waterproof barrier that prevents leaks around vulnerable areas.
Test for Leaks
After installation, conduct a thorough inspection by simulating rain to check for any leaks. This ensures that your flashing is properly sealed and functioning as intended.
Also Read: Roof 101: Your Pictorial Guide To The 19 Essential Parts Of A Roof
Why Choose Prestige Roofing LLC?
At Prestige Roofing LLC, we know how important your roof is to your home. Whether you need roof flashing repair, help with step flashing installation, or advice on flashing for metal roofs, we’re here to help. Call us at (920) 791-0414 to schedule a consultation.
A. Reusing roof flashing is not always a good idea. While it might save money initially, old flashing may be warped, rusted, or damaged, leading to leaks. We recommend replacing flashing during major roof repairs or replacements for peace of mind.
A. Signs you might need roof flashing repair include: 👉Water stains on ceilings or walls. 👉Visible gaps or rust on flashing. 👉Loose or missing flashing.


